
Caring for a compost pile is very similar to tending a backyard. We feed it, we water it, we give it good airflow. And in return, we get to see the magic of our kitchen scraps and yard waste remodel into wealthy and loamy humus earlier than our very eyes.
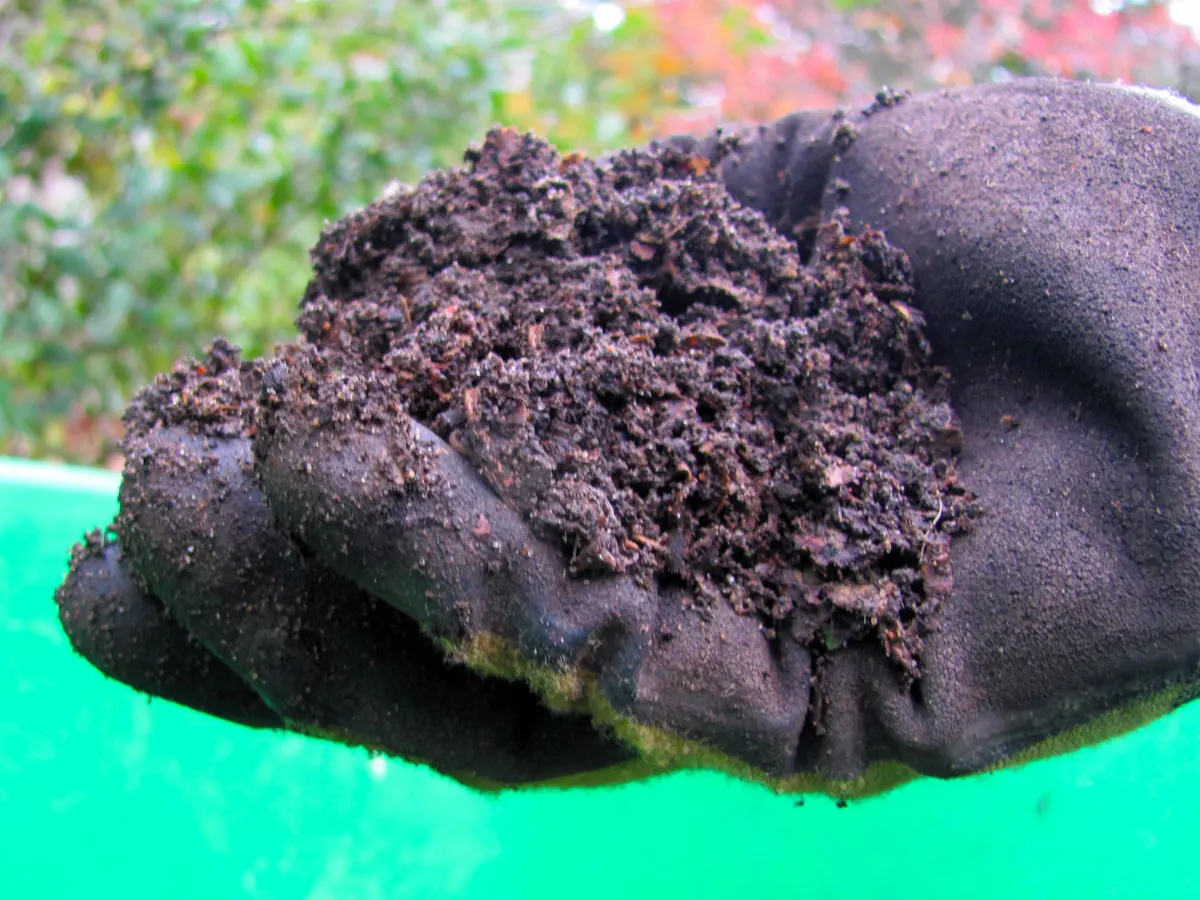
Compost is able to harvest when it has a darkish and crumbly texture and an earthy scent. The particles ought to be principally indiscernible, however it doesn’t have to be good. Stringy, sticky, and lumpy compost is okay for the taking too.
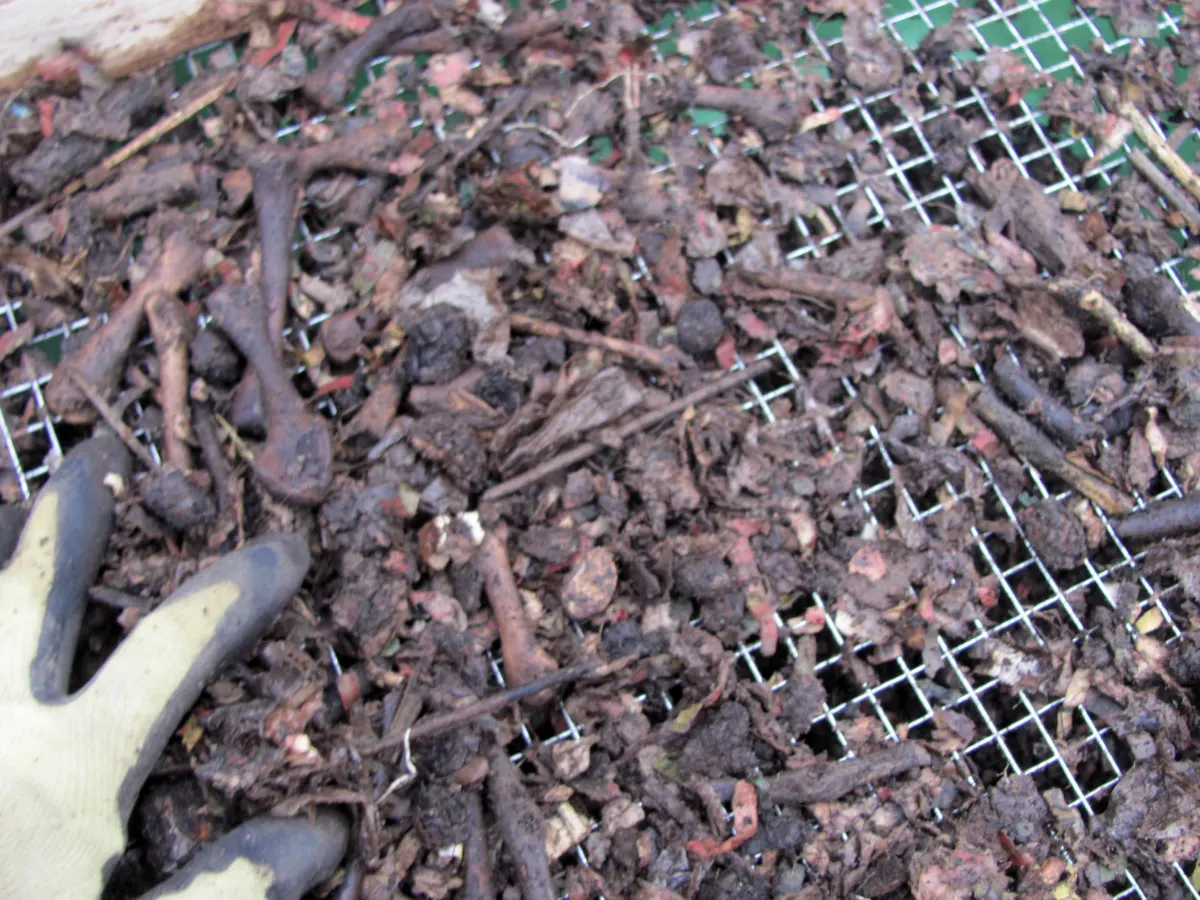
Sifting the compost will assist preserve bigger items – like sticks, stones, and bones – out of the ultimate product.
It’s not an crucial to sift and you’ll actually use lower than pristine compost immediately. However sifting does create a most splendidly mild and fluffy compost that’s simpler to unfold across the backyard.
Supplies:

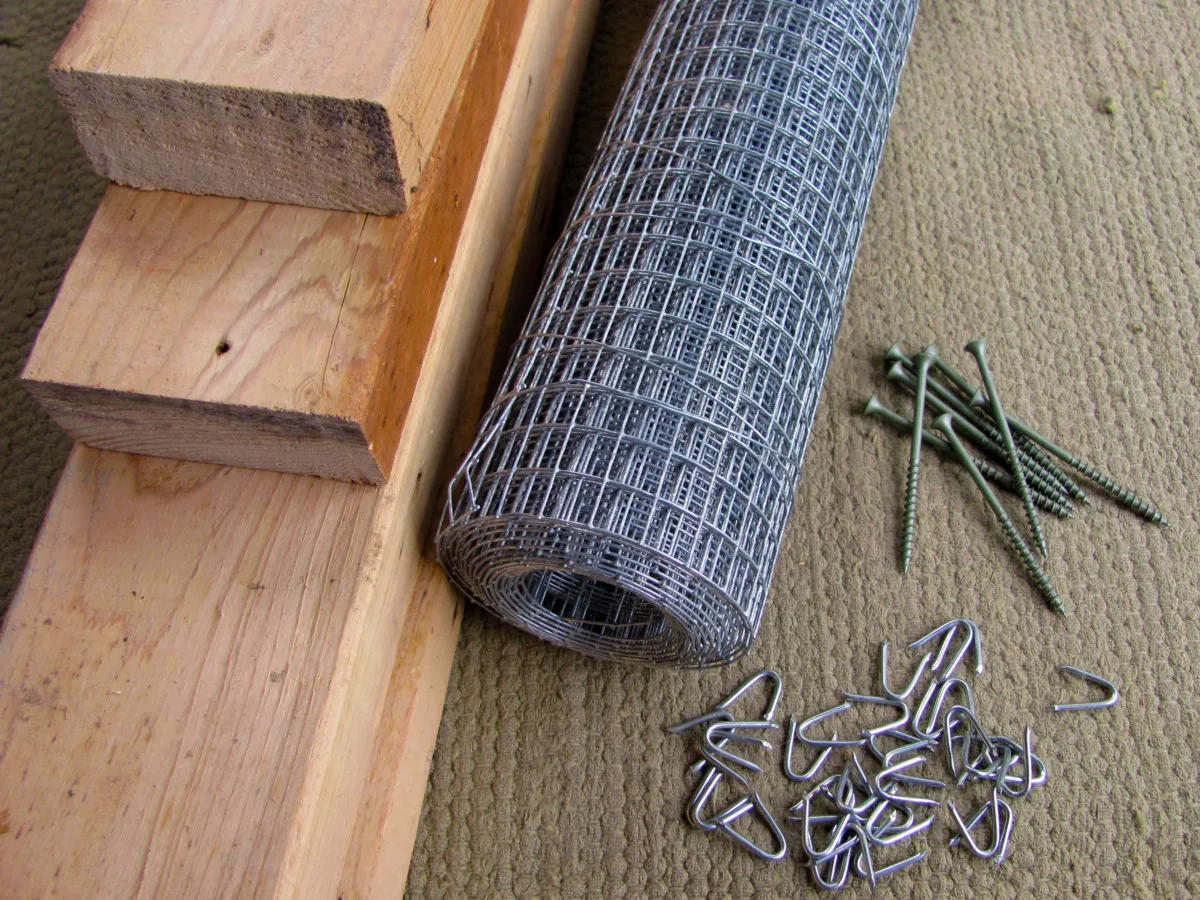
- 4 lengths of two×4 lumber, lower to dimension
- {Hardware} material, 1” or 1/2” mesh
- Deck screws, 3” lengthy
- Fence staples, 3/4″
Assemble the Sifter Body
The scale of the compost sifter will solely rely upon what you’ll be sifting the compost into. Whether or not it’s a plastic tote, a backyard cart, or a wheelbarrow, you can also make the sifter any dimensions you want.
On the whole, a 36” x 24” sifter will present an excellent floor space for processing the compost.
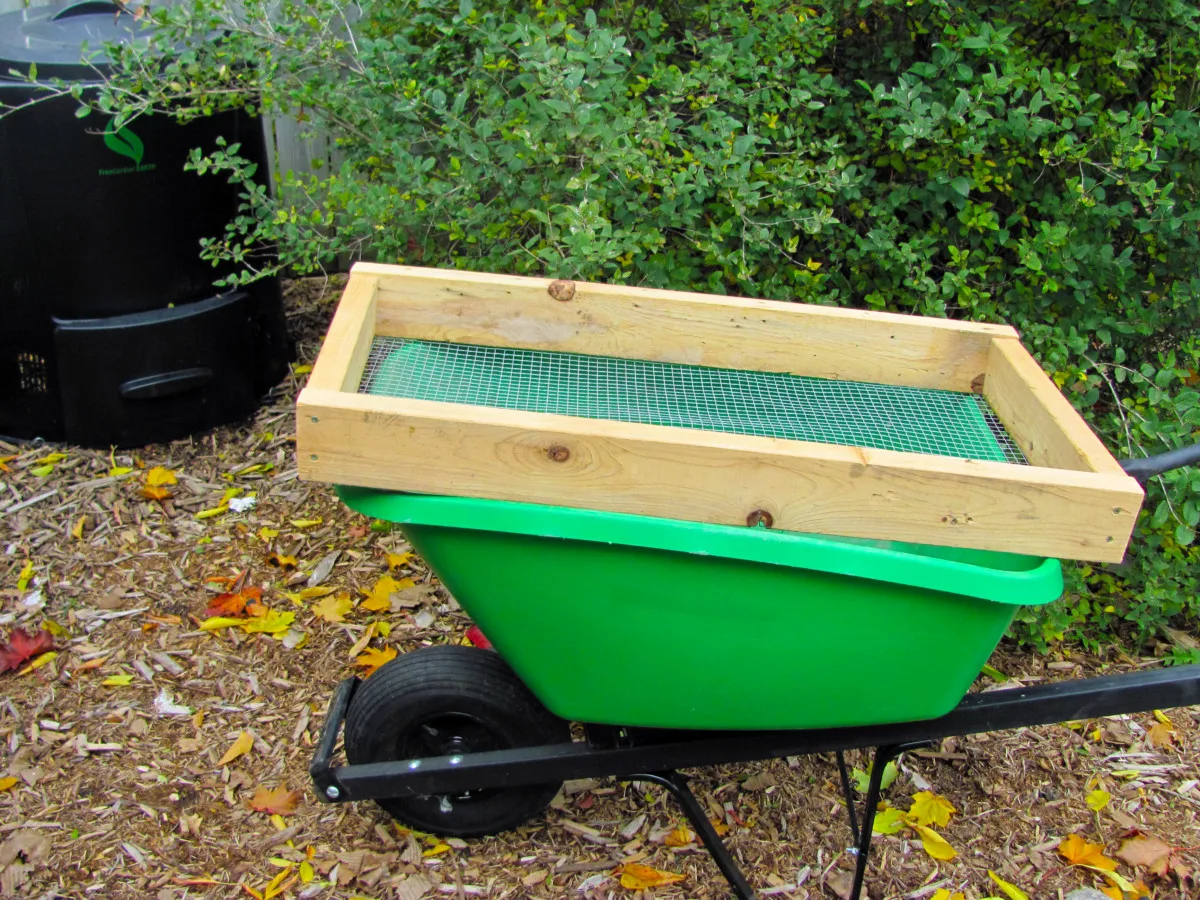
I’ll be sifting my compost right into a wheelbarrow, and this specific wheelbarrow has rounded sides. I need the sifter body to sit down flat so I measured the scale of the bathtub, then added a couple of inches to size and subtracted a couple of inches from the width.
I ended up with a completed body dimension of 36” x 18.5”.
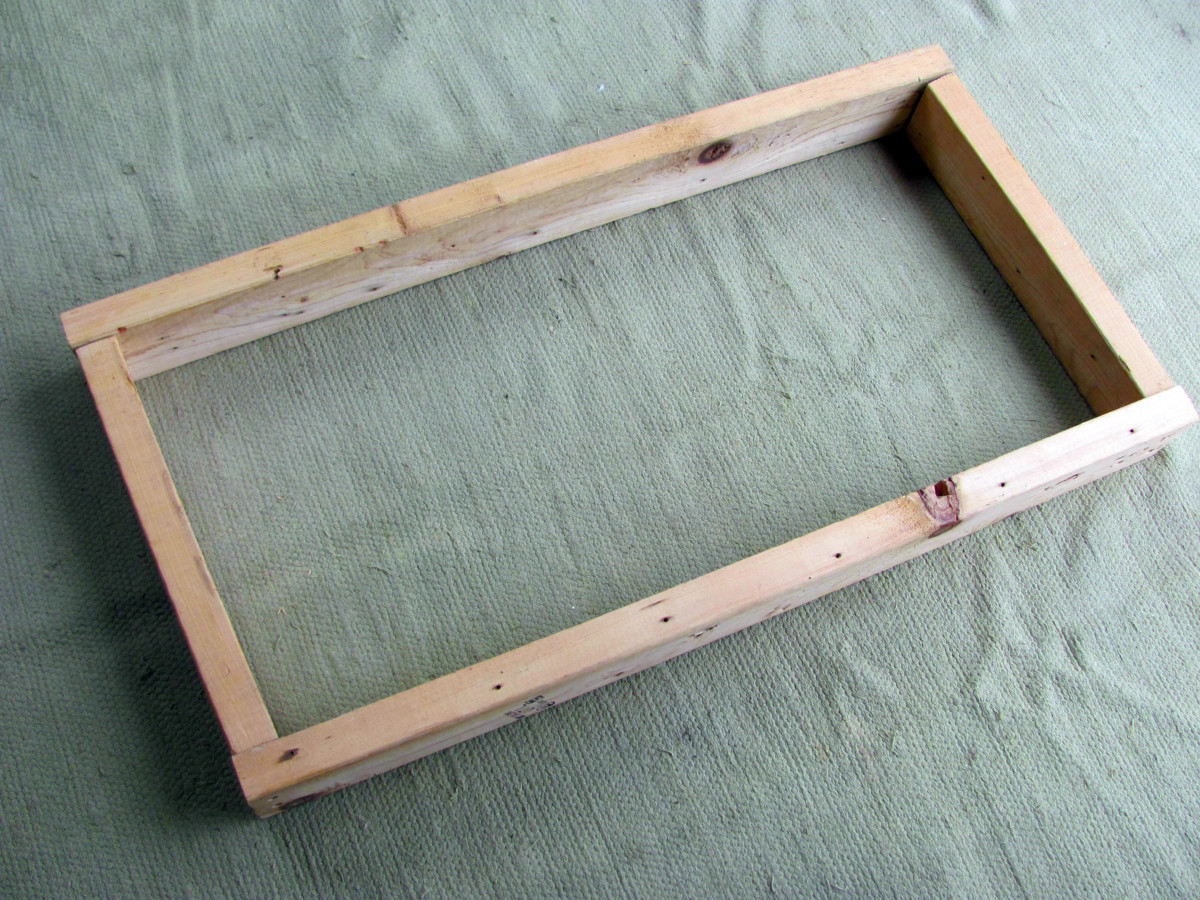

When you’ve measured twice and lower as soon as, place the wooden items right into a body form with the vast sides dealing with out.
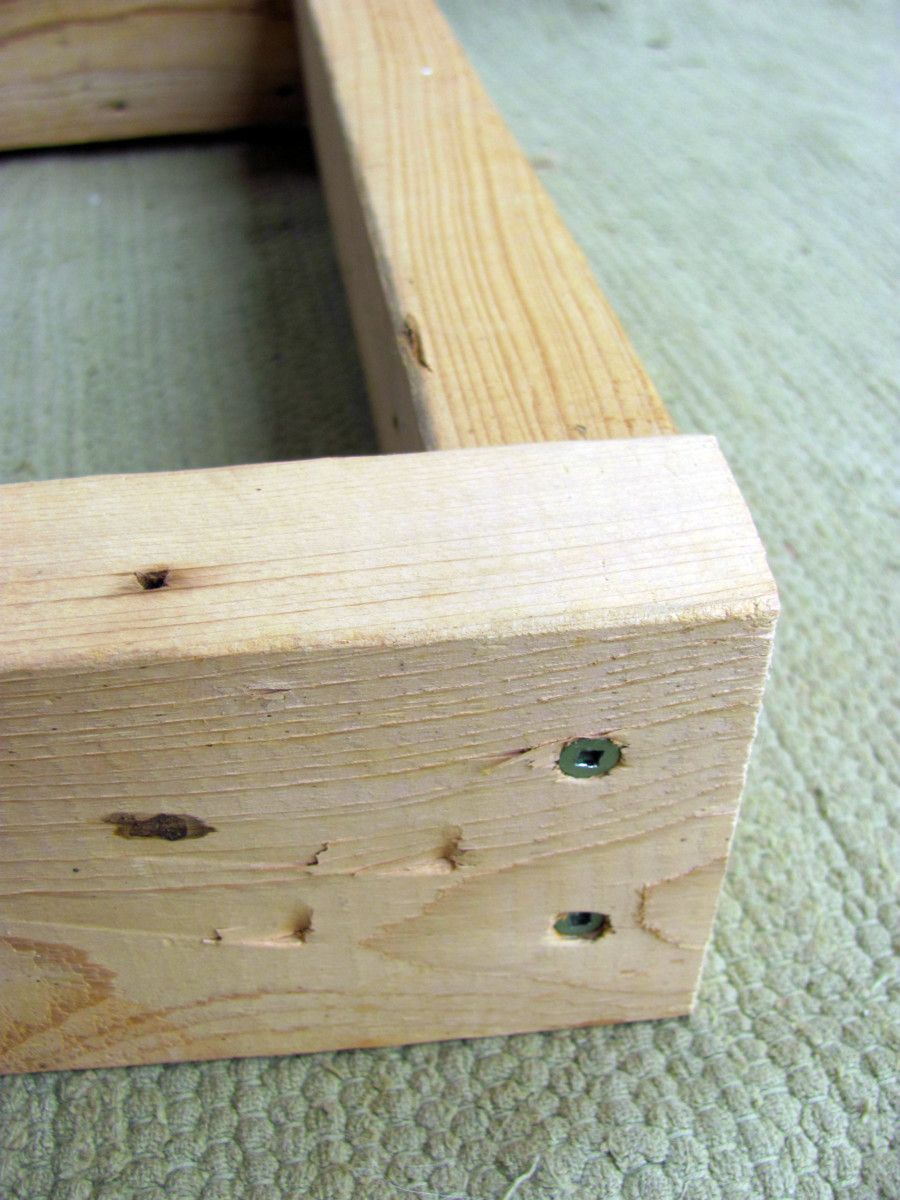
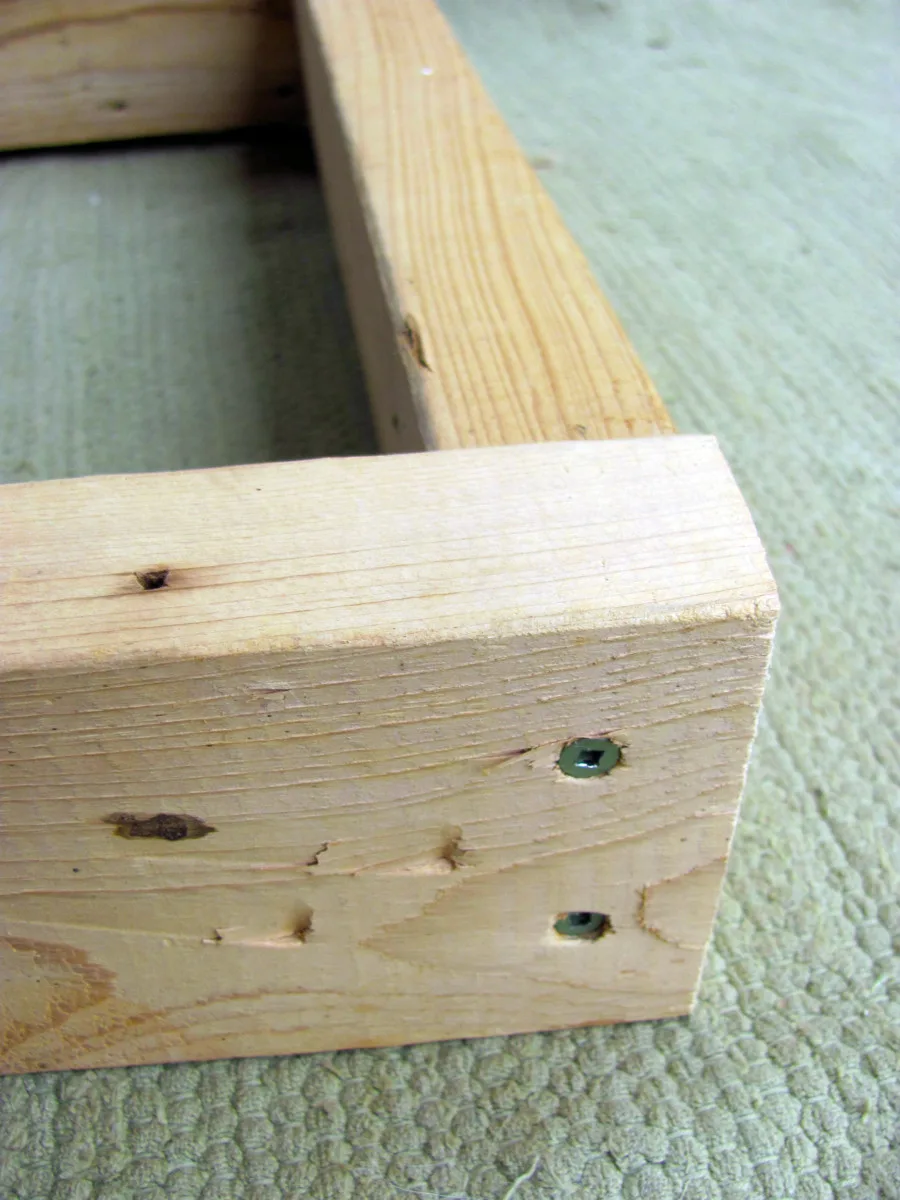
Then drill 2 deck screws in every nook to carry all of it collectively.
Connect the {Hardware} Fabric
The mesh dimension of the {hardware} material will decide how nice or coarse the completed compost can be.
I’m utilizing 1/2” x 1/2” mesh to make a finer compost, however a bigger 1”x 1” gauge would make processing go sooner by permitting greater supplies via the display screen.
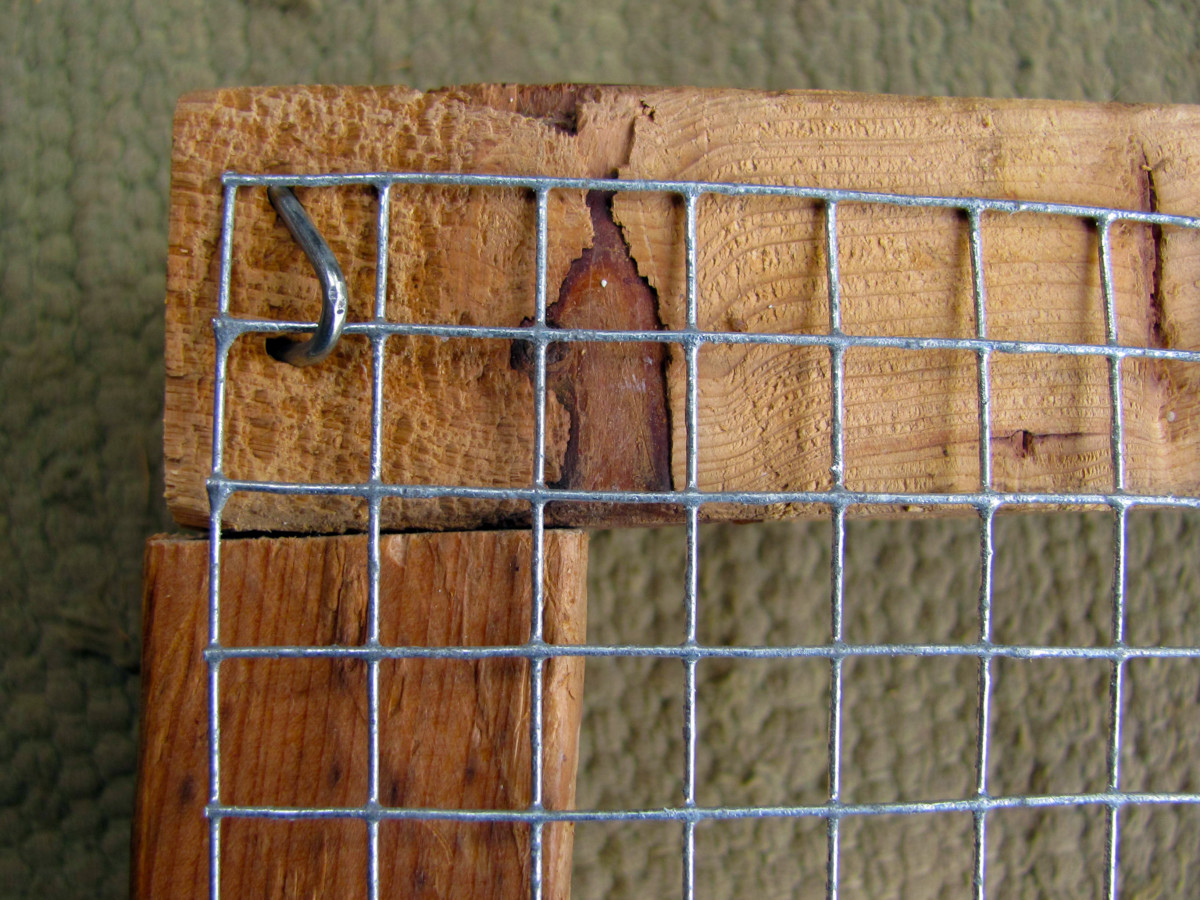

Roll out the {hardware} material over the body. Begin in a single nook and hammer in a fence staple.

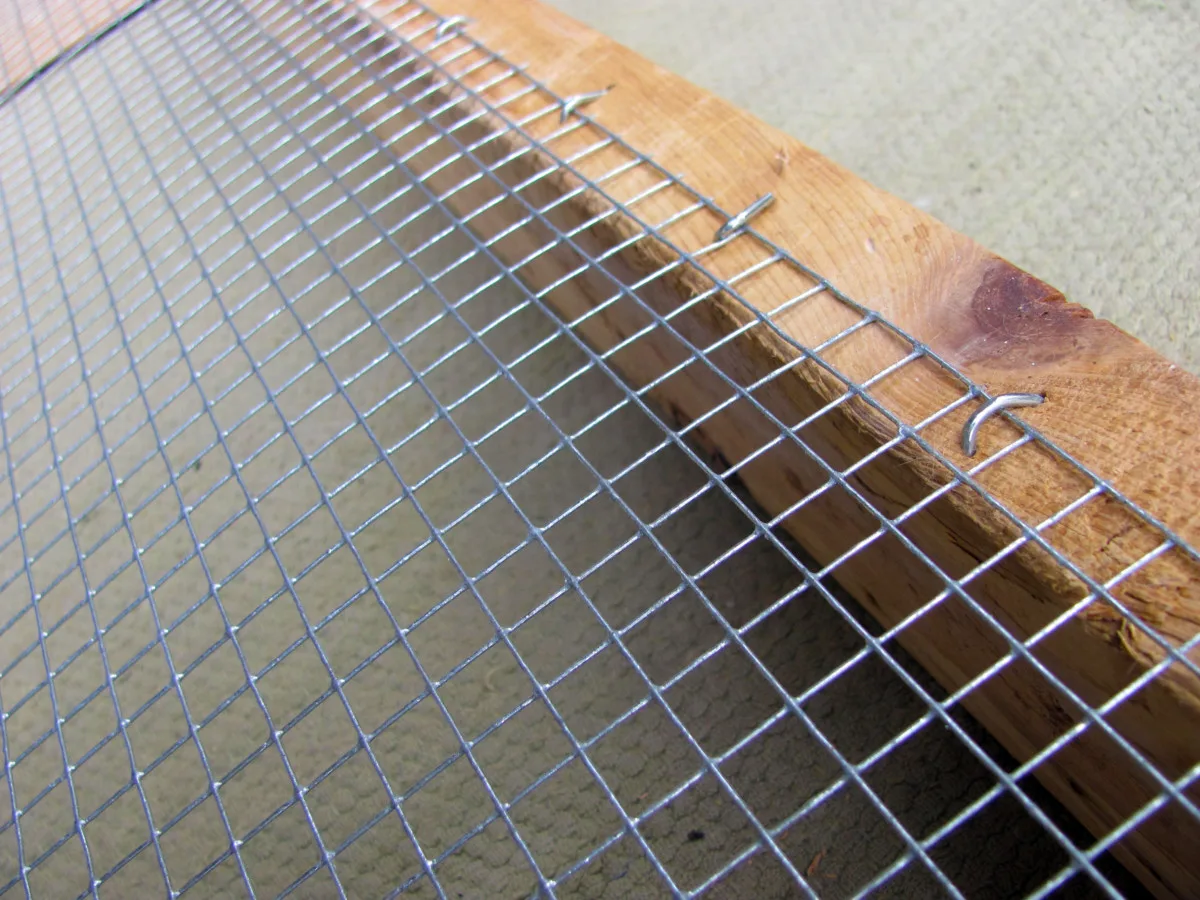
Working your manner outwards, preserve the display screen taut whereas affixing staples to the mesh each 3 inches or so.

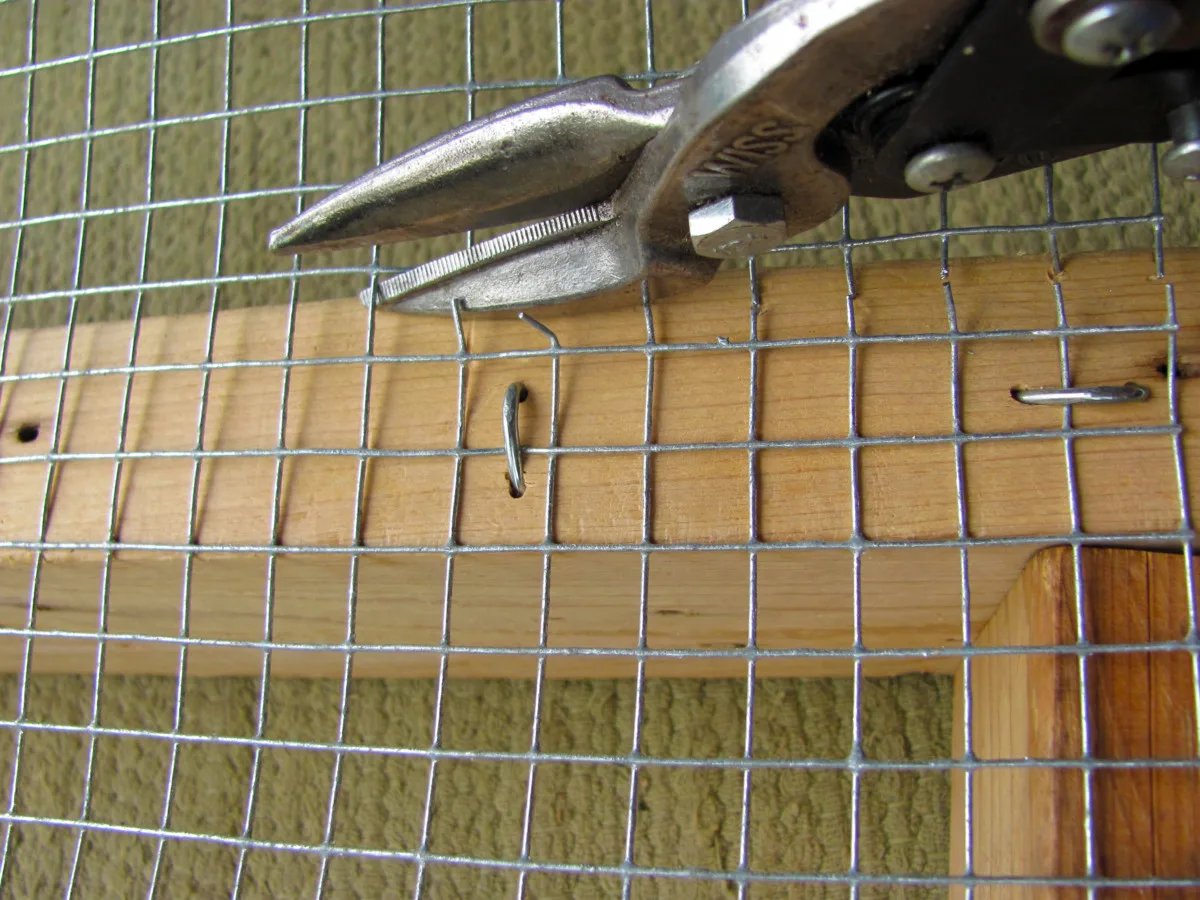
After you’ve completed stapling the final aspect, use wire cutters to snip off the remaining {hardware} material.

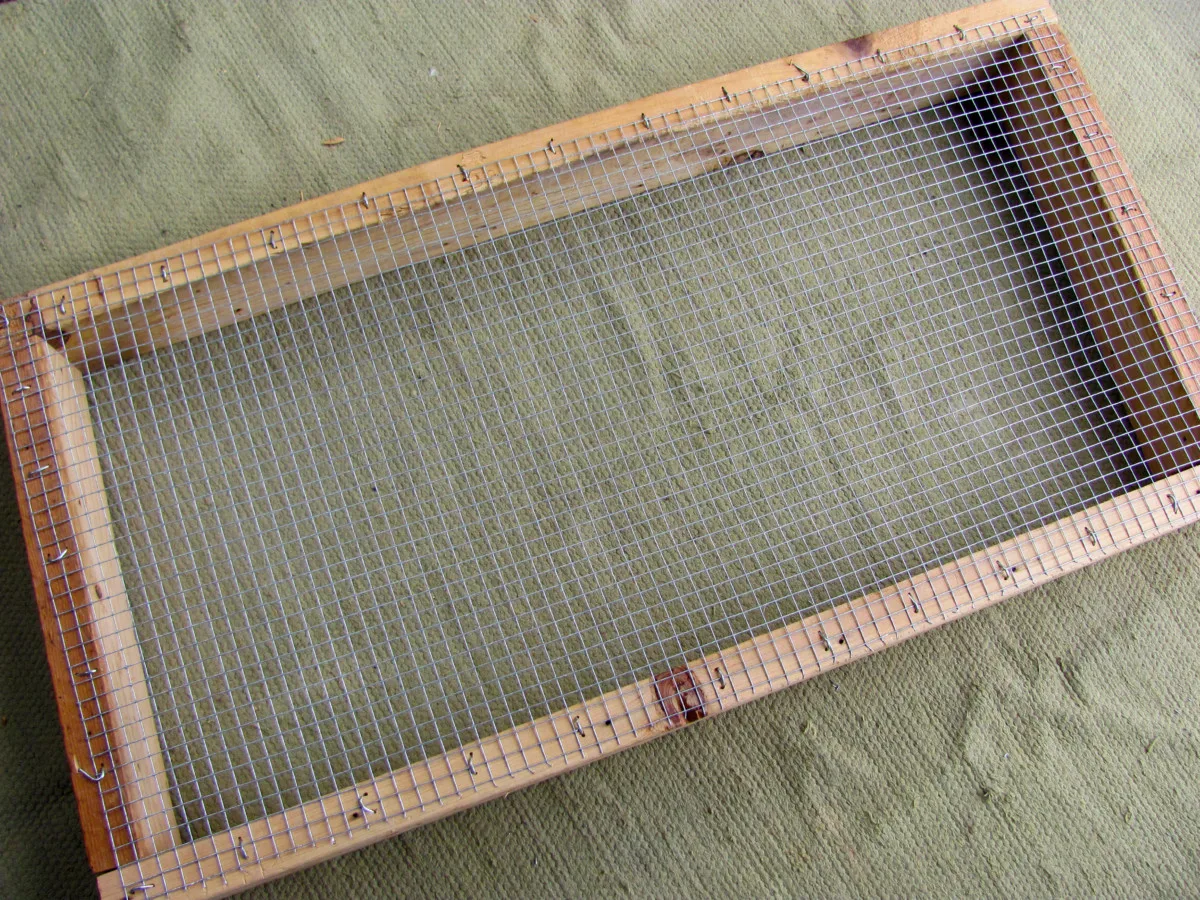
The lower ends of the {hardware} material are very sharp. Use a hammer throughout the sides of the body to tamp down the tines so that you don’t get snagged.
Utilizing the Compost Sifter
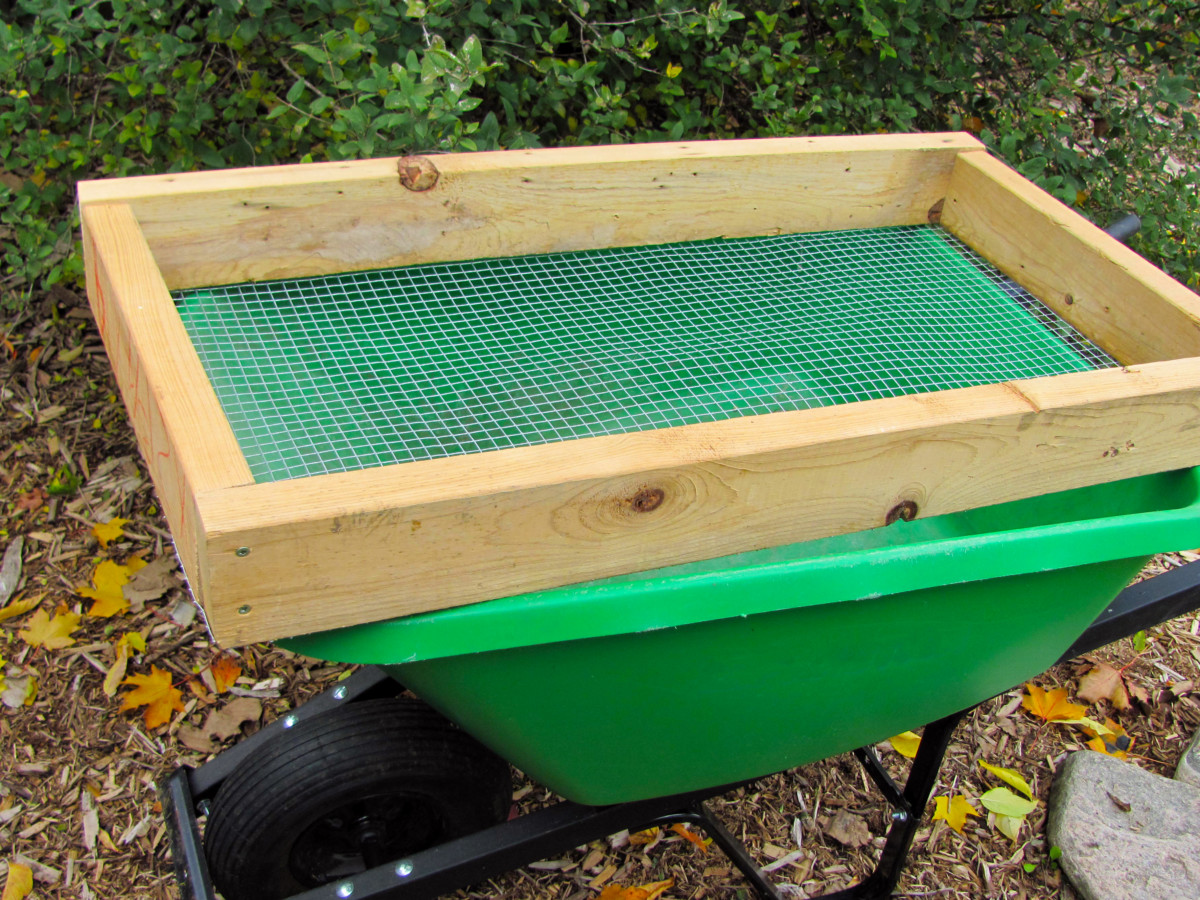

Flip the sifter over so the display screen runs alongside the underside of the body.
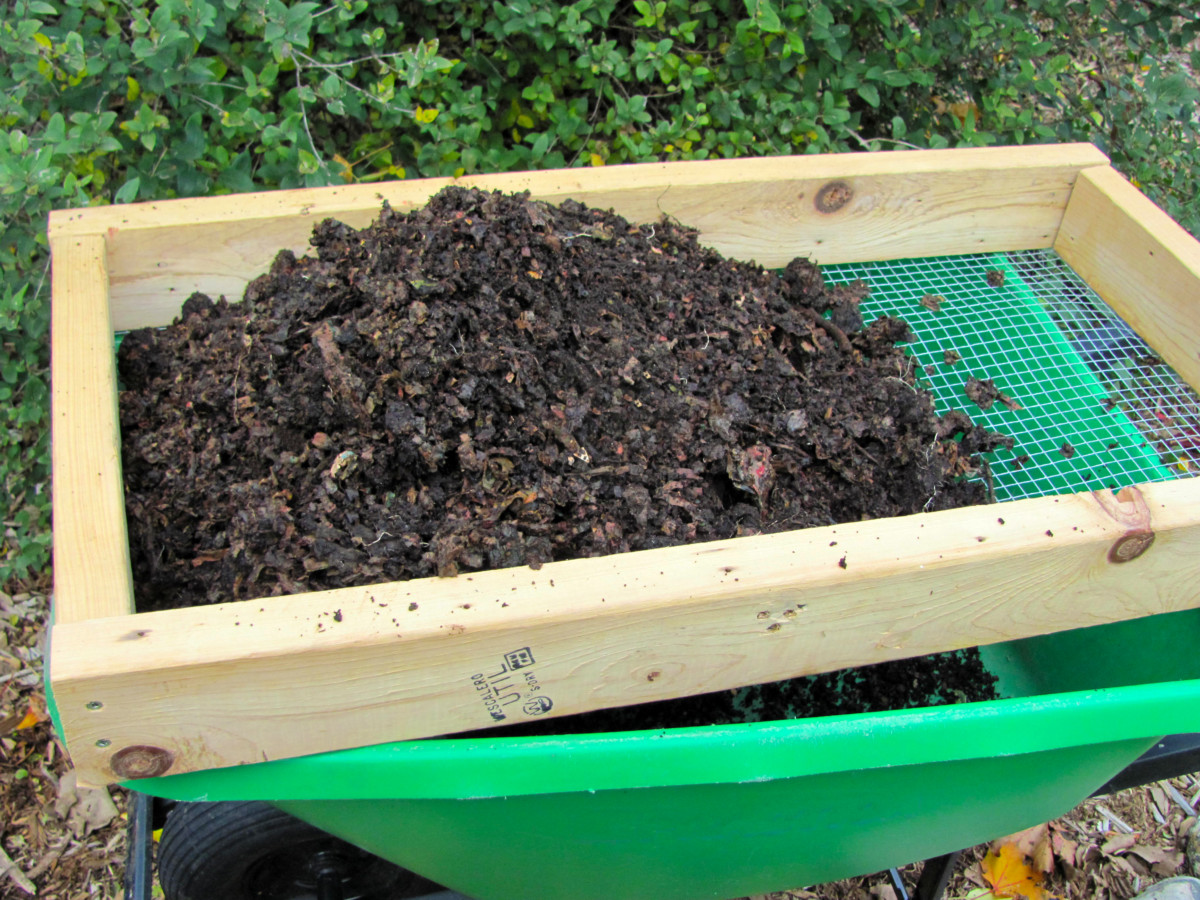

Dump 2 to three shovelfuls of compost to the sieve. Take care to not toss in an excessive amount of at a time, because it’ll solely make it trickier to sift with out spilling it over the perimeters.

Unfold the compost out over the sifter together with your fingers. Breaking apart clumps as you go, push the compost throughout the display screen. Use back-and-forth and round motions to work it via the squares.
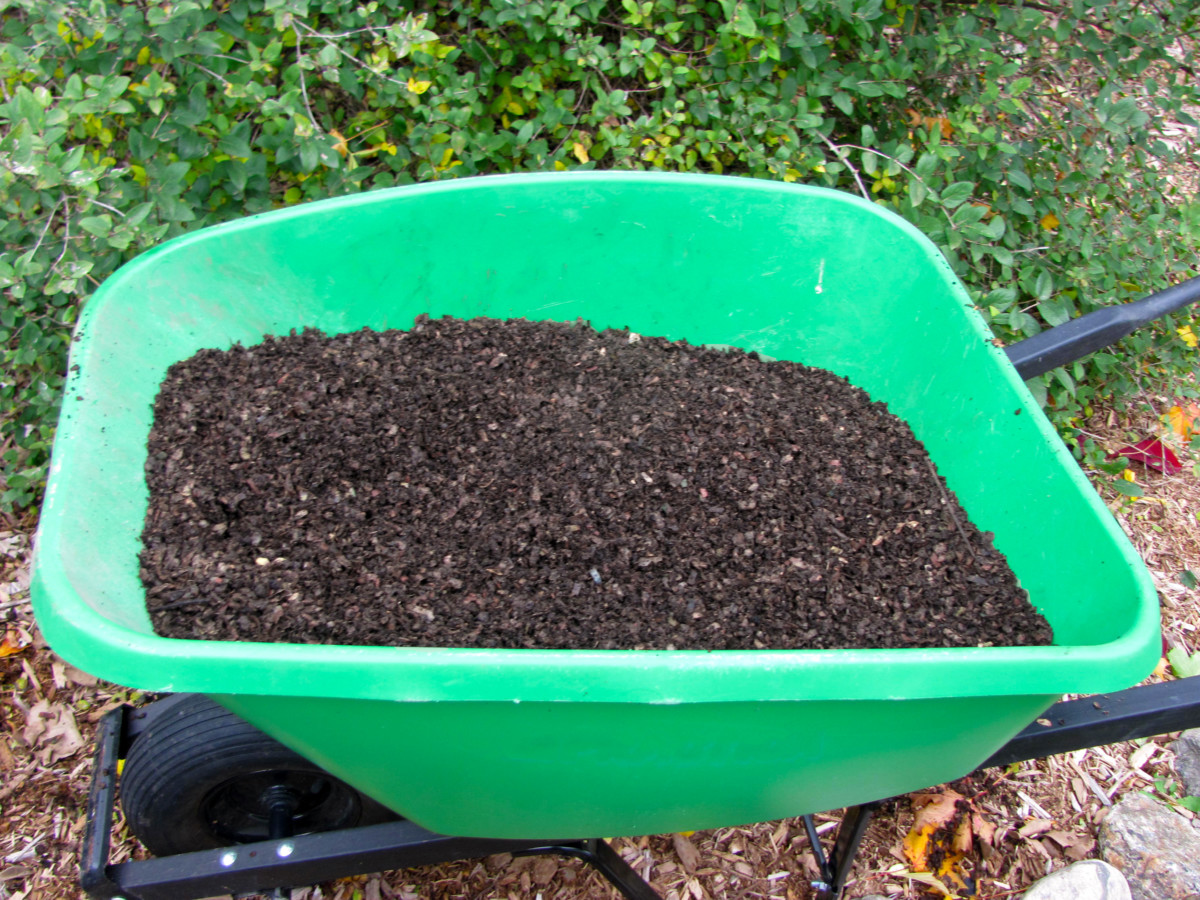
The smaller particles will fall into the bathtub and the bigger particles will keep on high of the display screen.

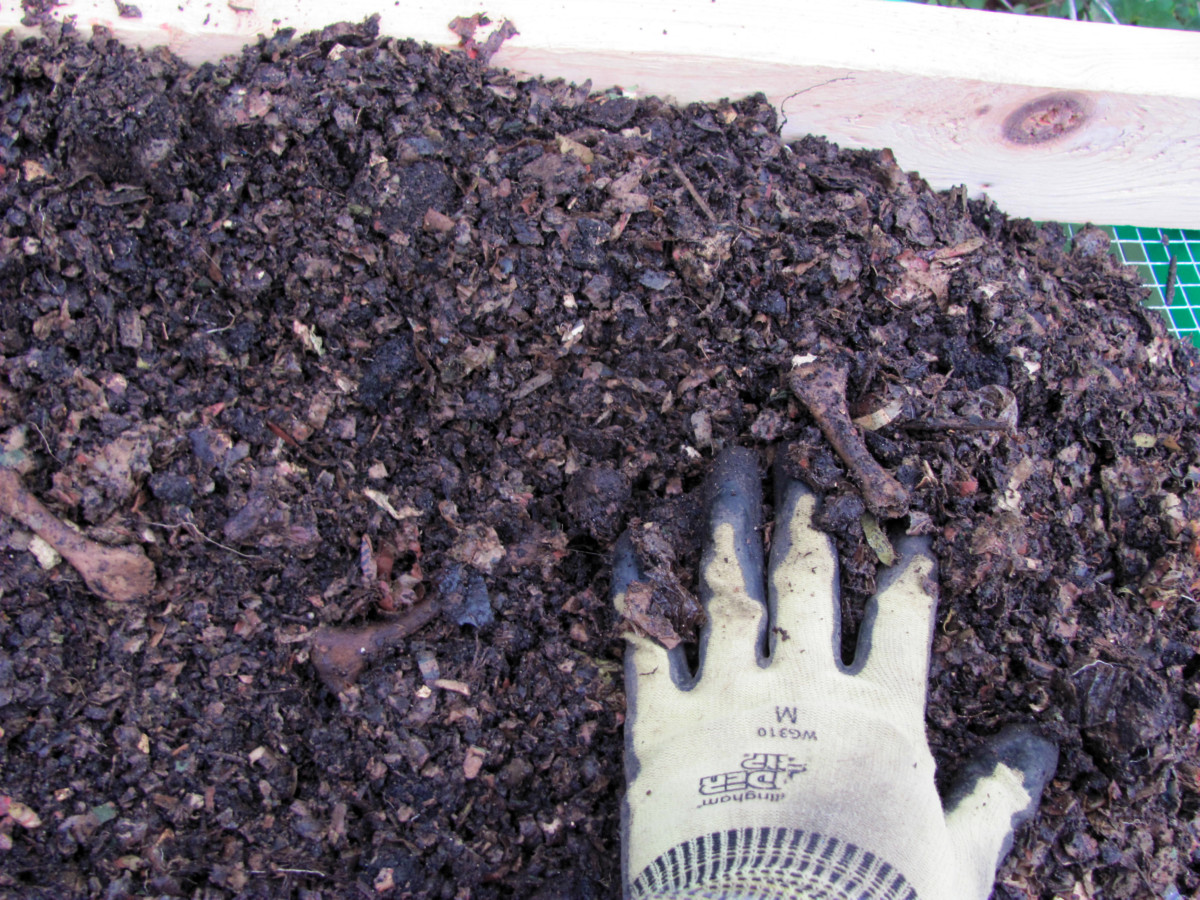
The undigested bits will go proper again into the compost heap to proceed breaking down. For now, I’ll put them apart and toss them again into the pile as soon as the bin has been emptied and all of the compost has been sifted.

Working your fingers via sifted compost is oddly satisfying – it’s so smooth and opulent!

Use your freshly harvested compost immediately to make new backyard beds or recharge the soil in current ones. It’s a high notch ingredient in potting soil and seed beginning mixes, too.
You too can set some apart for later use by bagging it up and stowing it in a cool, dry place. Depart the tops of the baggage open and uncovered to air. Now and again, examine to verify the compost remains to be barely moist.
Do-it-yourself compost is teeming with microbial life and a broad spectrum of vitamins. It will likely be at its finest for 3 to six months post-harvesting so make sure that to make use of it up as quickly as you’ll be able to.
Learn Subsequent:


Get the well-known Rural Sprout e-newsletter delivered to your inbox.
Together with Sunday ramblings from our editor, Tracey, in addition to “What’s Up Wednesday” our roundup of what’s in season and new article updates and alerts.